I’m part of a group of pet photographers that post an image or series of images every Friday that reflect on a particular theme as part of a “52 Project†— or a project to take a new photo every week for a year. Each photographer links to one another in a way that allows you to click through and view some great photos of some very cute pets.![]() Follow along by clicking the link in each post until you find yourself back where you started — here!
Follow along by clicking the link in each post until you find yourself back where you started — here!
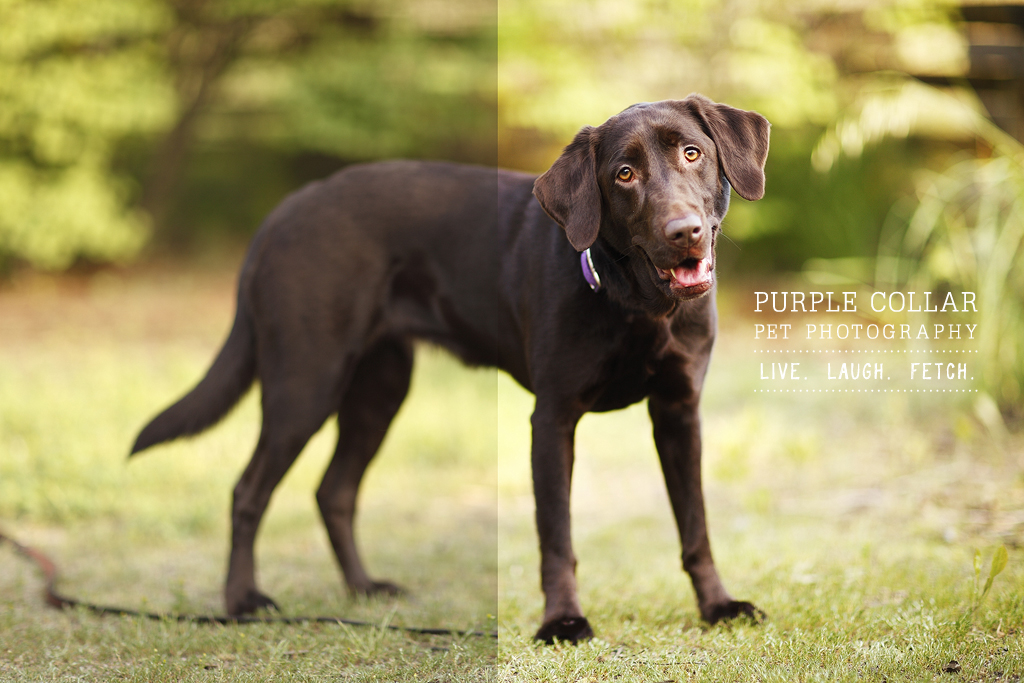
This week’s theme is the “digital dark-room”, or a chance to discuss one of the dirty little secrets of photography: the fact that the photos that come out of the camera often take some sprucing up to make them shine. Personally, I think this process gets a bad rap. Photography and post-processing are two sides of the same coin, like recording music and mixing. The post-processing is there to draw out nuances that were legitimately captured on camera, but for whatever reason came out a little flat.
As the photogs out there know, asking a photographer to reveal his or her processing workflow can be a touchy subject. It’s often likened to a chef revealing the ingredients to a secret sauce, or a magician pulling back the curtain on an illusion. I don’t have much of a problem with it, personally, because I feel it’s such a small — though important — piece of what makes my style my own.

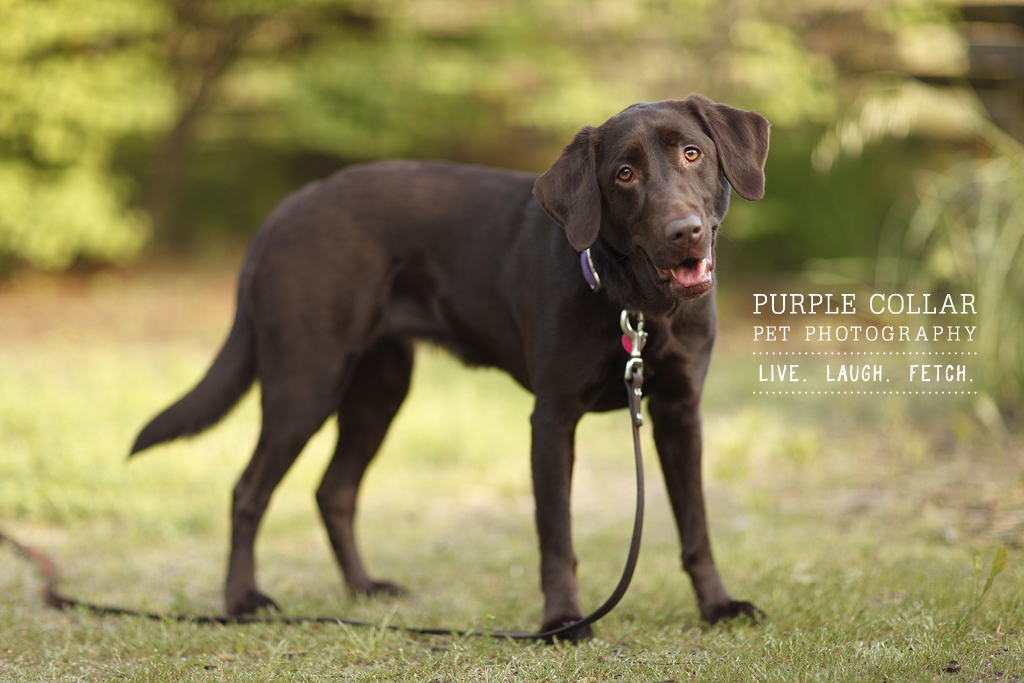
The example I chose for this project is a little extreme; the shot as captured — seen below — was a little underexposed, and we have that unsightly leash dangling from the lovely brown dog’s neck. Normally I add some contrast and vibrance/saturation to a photo so that the image more closely matches what I saw in real life (RAW images, which are as close to a film negative as you’ll get with a digital camera, intentionally come out of a camera very bland or flat, to give the photographer as much free rein as he or she wants to modify the shot), tweak the white balance, and call it good. In this instance, though, I also wanted to correct the exposure on my subject, but keep that bright background from becoming too overpowering. And, of course, there’s that leash.

The first thing I did was make sure to test to see if I thought my leash removal would be successful. I didn’t want to waste any time correcting the photo’s other issues if the main problem — the leash — was uncorrectable.
I think of cloning out a leash as sort-of like applying a skin graft; you need a certain amount of untarnished material to use as a source to cover up the unwanted portion of the image. Sometimes that source material just isn’t there, and the time investment involved in the alternative — constructing something from scratch — is often too great in my case to justify its use. So, after I removed the leash through cloning — very careful to avoid the creation of repeating patterns — I moved on to correcting other issues.
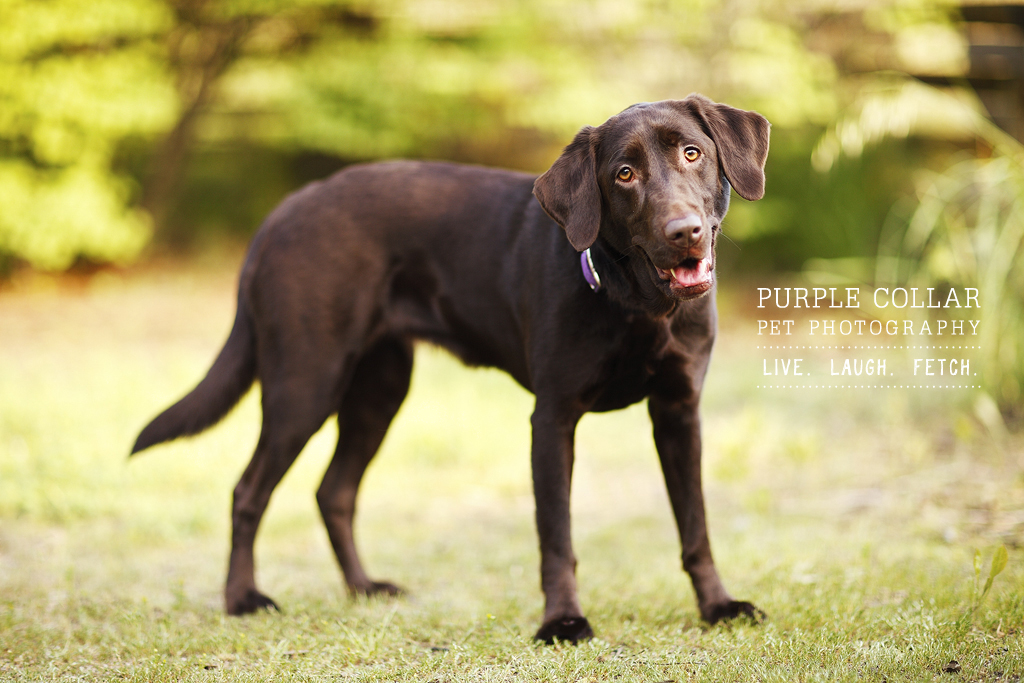
The next to-do was to fix that exposure. Once I increased the exposure, though, I felt my background was too bright, so I then masked out certain parts of the photo whose brightness I didn’t want to increase too much. Then I added some contrast, again partially masking parts of the photo that I felt were contrasty enough already. I didn’t like the way the light was falling on the right side of Samantha’s face, so I added a bit of light using a masked curves adjustment layer. Even though the photo was shot with the proper white balance, I felt it was too warm, so I added a very slight touch of blue through a curves adjustment to cool it down a little. Lastly, I increased the saturation to bring out the colors, but then I noticed that Samantha’s tongue was super saturated. So I created another saturation adjustment layer, but this time I decreased the red saturation. I masked this adjustment and limited it to her tongue only, since that was the only part of the photo was too saturated for my taste.
In the end, I came up with the shot you see below!
 To see more before & after comparisons, check out the rest of the 52 Group’s photos, starting with Nashville Pet Photographer Kelly Coyle!


4 comments